In this article, you’ll learn about every method you can use to add a text box in Google Docs.
Add a Text Box Using Google Docs Shapes
The easiest way to quickly add a text box in a Google Doc is by inserting a shape. This approach lets you place the text box anywhere in the document you like, even on top of text.
Insert a Text Box Shape
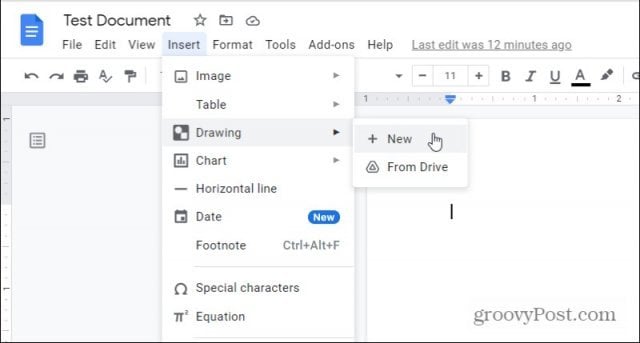
To do this, select Insert from the menu, select Drawing and then select New.
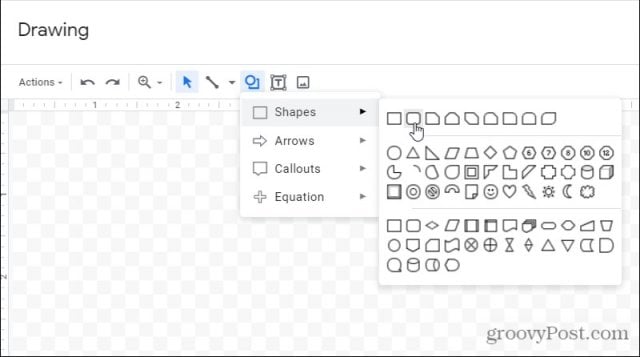
This will open the drawing tool. In the menu, select the shapes icon, select Shapes, and select the shape of the text box you would like.
Most people go with the standard rectangular text boxes. However, if you want to add a little more style, you might opt to go with one with rounded edges. Or you could choose from any other shape you like. All of them allow text entry.
Editing Text Box Shapes
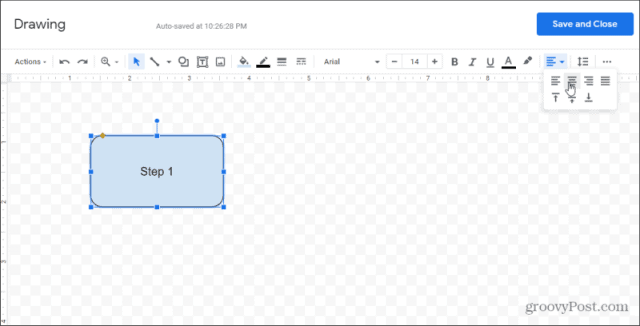
Once you select the shape, it’ll appear in the Drawing editor window. Here you can adjust the size or add text. Use the Align menu icon to adjust the position of the text inside the text box.
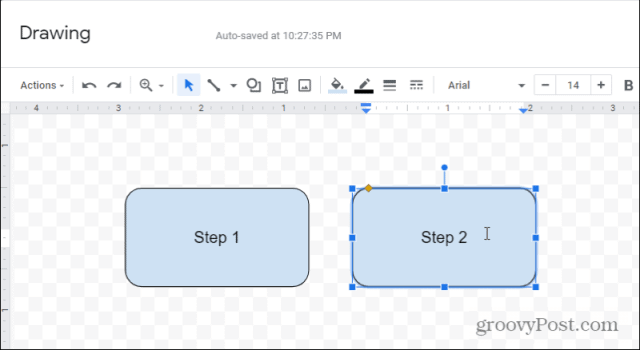
If you’d like, you can add multiple text boxes to the same drawing if you like. This will make both text boxes part of the same object that you’ll insert into the document.
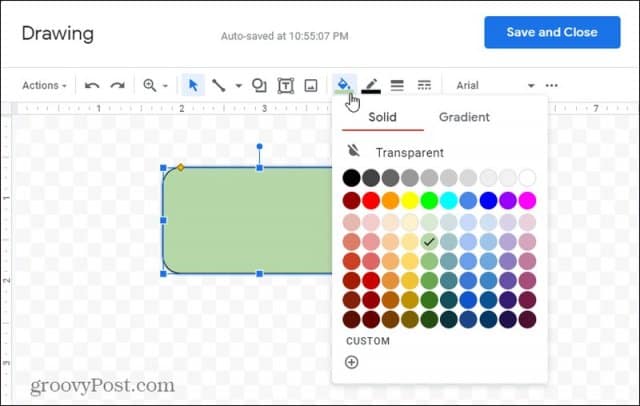
You can play around with how the text boxes look in quite a few ways. For example, if you select the fill icon in the toolbar, you can adjust the fill color for any text boxes you’ve selected.
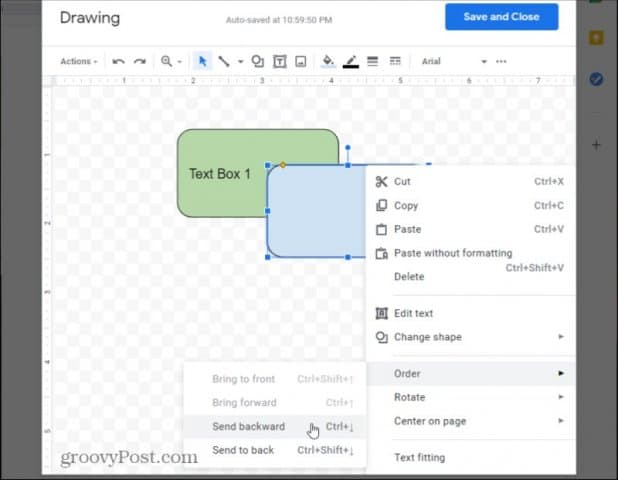
If you want to overlay text boxes, you can adjust which one appears over the other. Just right-click any of the text boxes and select Order. You can select:
Send backward: Move that text box behind the one below it.Bring to back: Move the text box behind all boxes below it.Bring forward: Move the text box in front of the one above it.Bring to front: Move the text box in front of all boxes above it.
Once you’re done editing, select the Save and Close button to insert your new drawing object into the document.
Keep in mind that if you’ve drawn multiple text boxes, all of those will get inserted as one object in the document.
Using shapes as text boxes provide a lot more flexibility in formatting or shaping the text boxes themselves. However, if you’re more interested in inserting plain text boxes, read on.
Add a Text Box in Google Docs
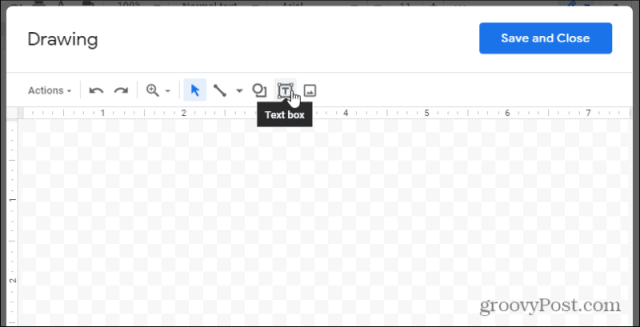
Adding a simple text box follows the same procedure as above, but instead of choosing from shapes in the menu, you need to select the text box icon.
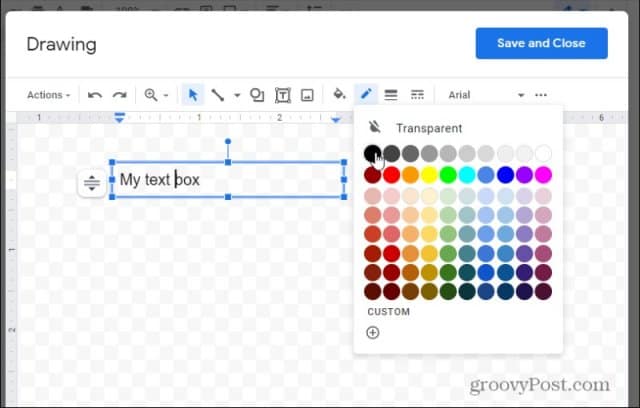
This will insert a transparent text box. Just fill in the text, size the text box the way you like, and you’re done.
If you want a little more style, there is the option to select a fill color or give the text box a border.
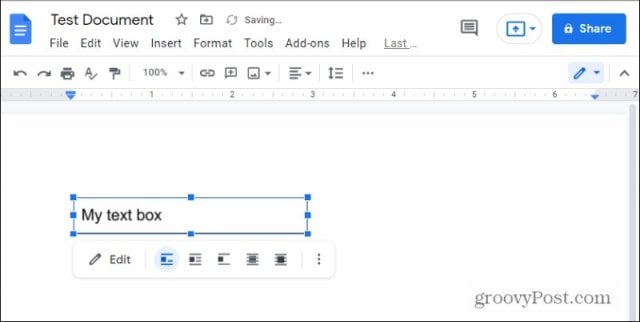
Select Save and Close when you’re done. This will insert the text box into the document where your cursor was. You can also adjust how the text box behaves and interacts with the rest of the document. Just select the text box and use the controls underneath it to adjust alignment.
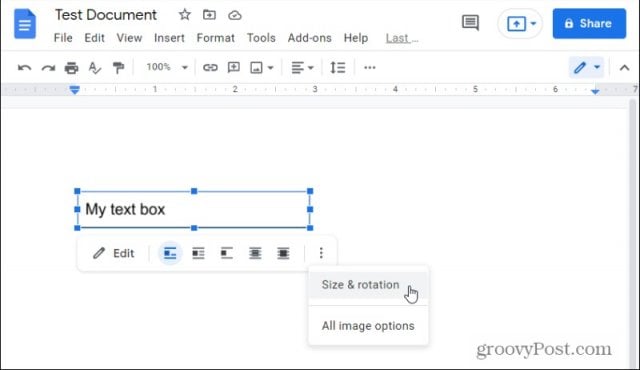
You’ll notice there are two overlay icons on the right. These let you place the text box behind or on top of the existing text in the document. You can also resize the text box even when it’s in the document by selecting the three dots to the edit menu’s right and selecting Size & rotation.
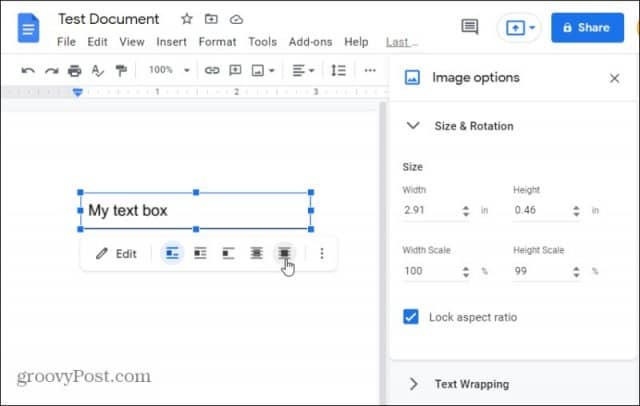
In the box that opens on the right, you can adjust the height or width of the text box.
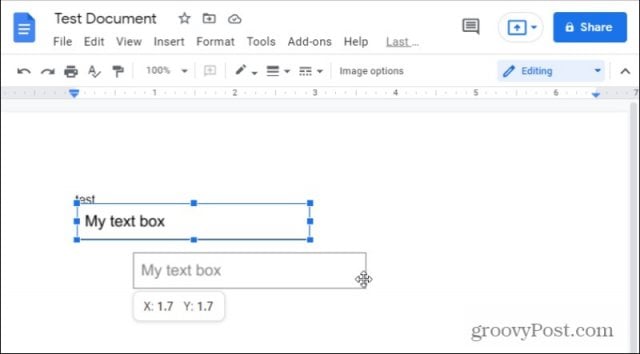
If you do select one of the overlay options, this will turn the text box into a floating object. You can grab the text box and move it anywhere in the document where you’d like to place it in this mode.
You can also use the same alignment (or floating) options with the shape option for text boxes.
How to Insert Fillable Text Boxes
While it’s nice to add text inside of a box anywhere in a Google Doc that you like, it would be nice to instead create a well-formatted fillable form. This would require the ability to place a label next to a well-aligned text box. The easiest way to do this in Google Docs is by using tables. To do this, select the Insert menu, select Table from the menu, and then choose the 2×1 table option.
This will insert a table into your document with two columns and one row. To create the entry label, type the text for that label in the left cell.
Since you don’t want that label inside a box, you’ll need to remove the border around that cell. Select the small down arrow at the upper right of that cell. This will open the border selection box.
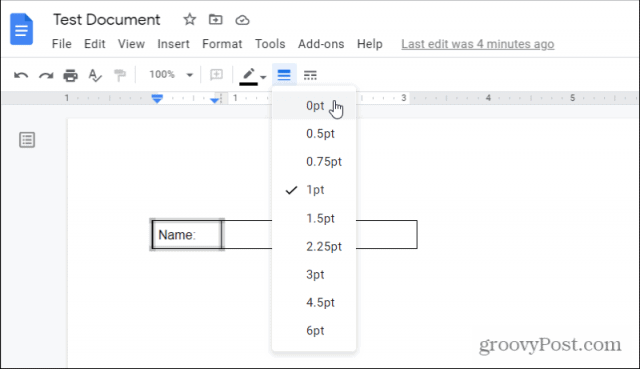
Select the four-sided border. This will select all four borders of the current cell that you have selected. Now that it’s selected, you can format those borders. To do so, select the lines icon in the ribbon, and choose 0pt from the dropdown list.
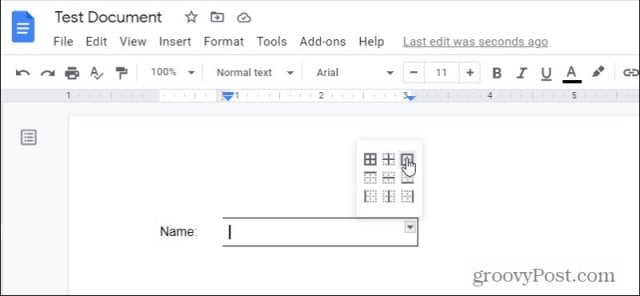
Now you’ll see that all four borders around your label have been removed. The next step is to fully close in the fillable “text box” on the right. To do this, select the down arrow at the upper right of that empty cell, and once again choose the four-sided border.
This will select all four borders around the empty cell. Again, select the lines icon in the ribbon, and this time choose 1pt.
This will draw a border that’s 1 pt thick around that empty cell.
What you’re left with is a label beside your fillable text box. It’s really as simple as that! If you want multiple fillable text boxes in Google Docs, you could instead create a table with multiple rows and repeat the process above for each cell. You may want to consider adding an extra row between your actual text boxes so that you can create a blank space between each fillable text box. Comment Name * Email *
Δ Save my name and email and send me emails as new comments are made to this post.


![]()
